

Etsy Education | Easy Pinterest Tips to Grow Your Etsy Business
Beginner Pinterest Tips | One of the most common questions I get regarding Etsy SEO and marketing is how do I start using Pinterest in my marketing strategy?
Beginner Pinterest Tips | One of the most common questions I get regarding Etsy SEO and marketing is how do I start using Pinterest in my marketing strategy?

Okay, lets start with some quick steps you can take with Pinterest to be sure you're utilizing it to the highest potential or at least more than you are now.
1. Be sure you have a business account and link your Etsy shop to it (Create or change to business account then go to edit profile > claim > add Etsy)
2. Install a plug in to your browser or use a service like tailwind to be able to pin each image of your listing not just the main one (Google chrome has a free plug in which then makes any image a pinable image). You can pin from each image and each listing, see image below for an example of the share buttons under listing tools. To save each image directly once you have the plug in installed, hover over the image with your curser and a pin save button will appear.

3. Add descriptions to your pins so users can search and find the pin easily, when you save via Etsy it will default to your listing description which is also fine to leave as is as long as you’re using SEO for appropriate listing titles and providing good, clear descriptions. Example below has the default pulled description:

4. Have visual and well made mockups or photos of your products so Pinterest recognizes the quality images. This should seem obvious but a cohesive and clear description along with high quality images of your products will provide the pinterest pinner and the purchaser a better idea of what they’ll receive.
Want to know how well your Pinterest pins are doing?
Once you've claimed your Etsy and are pinning images regularly from your shop you can check you business Pinterest analytics on them which show how many people are clicking the pin to your Etsy listing and how many are saving, you can also see what types of boards people are saving to for more information on who is looking at your work.

Also check your Etsy stats and check under social media which will show what percentage of traffic is coming from Pinterest.

Hope this helps! Feel free to ask me questions

How to Make Home Decor | Easy DIY Art Project | Etsy Education
How to Make Basic Home Decor for Yourself or Your Etsy Shop | Etsy Education Molly Margaret Studio
Ready to start designing your own home decor or need some help making Etsy prints to sell? Make your own home decor like you find on Etsy using free resources.
Resources used
Free Font Options: Dafont.com
Paid Font Options with Commercial Licensing: Creativemarket.com
Adobe Photoshop Apple Pages
How to Make Basic Home Decor for Yourself or Your Etsy Shop | Etsy Education Molly Margaret Studio
Ready to start designing your own home decor or need some help making Etsy prints to sell? Make your own home decor like you find on Etsy using free resources. See below for step by step instructions on how to begin making unique art for your home, friends or even as a business!
Here’s what we’ll be making today, this is a great tutorial to base more design work on or to make your own home decor using custom quotes or meaningful words for you.

Resources used:
Free Font Options: Dafont.com | Paid Font Options with Commercial Licensing: Creativemarket.com
Adobe Photoshop | Apple Pages
Any questions? Comment below!

Before you get started | Research and select a font to use (if you don’t have one you love already)
You can select from many free fonts for personal use on dafont.com or go to Creative Market for great paid options that will come with a commercial license if you plan on selling the prints.
I like to use handwritten style fonts, script fonts or modern fonts.
To download fonts in Mac:
Open the folder (unzip first if needed) that downloaded from either site and contains the new font, double click the .ttf file - this will open your font book, select install font
To download fonts to a PC:
If you have Windows 10, open the folder that contains the new font, right click the font file and select install


Another great thing about Creative Market are their weekly free design products, it’s absolutely worth signing up for their notifications.

Photoshop Instructions:
If you plan on making digital art in photoshop, which I recommend if you’re trying to sell the art or want to print large scale projects, check out these instructions. If you don’t have access to photoshop or have no idea how to even open a new project there - scroll down to the Apple Pages instructions, which are easy to reflect into Microsoft Word.
Step One | Open a new white background document sized 16x20 (or whatever size you’d like your image to be) 300 dpi (default setting anyway but good to check just in case).

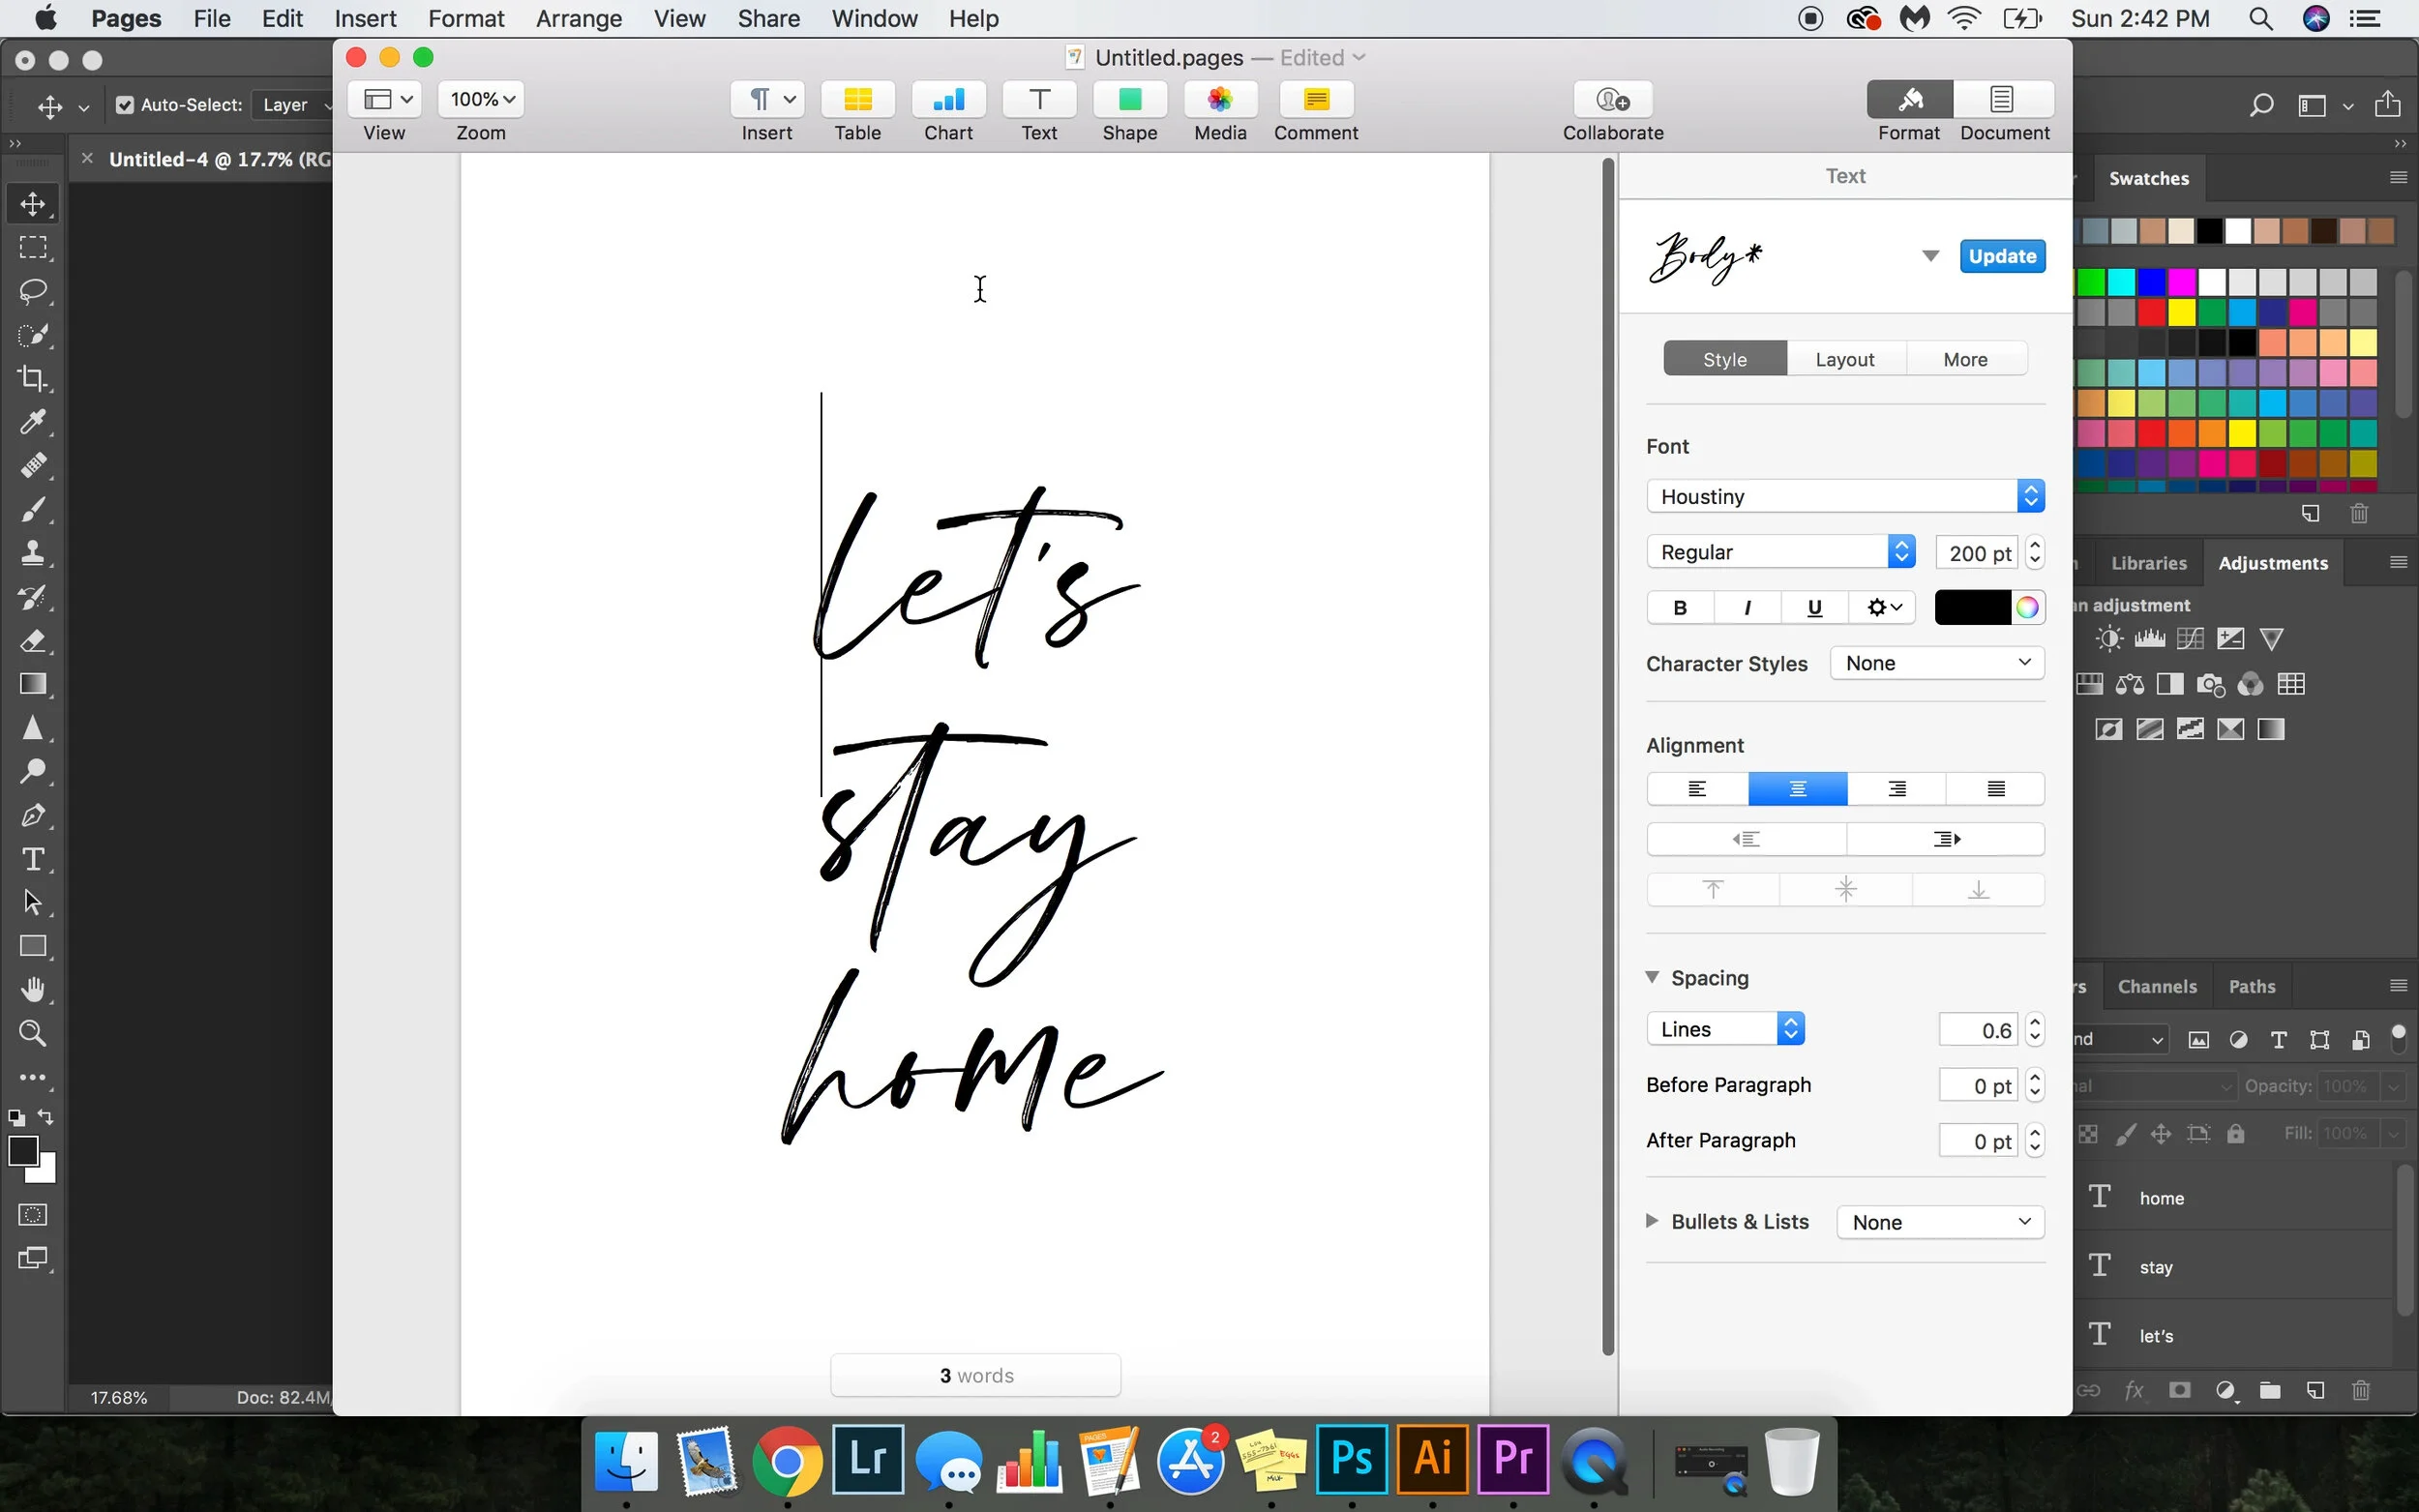
Step Two | Using the horizontal type tool, make three separate text boxes or layers with the words let’s stay home - or whatever words/phrasing you’d like.
I explain it a bit more in the video, but keeping each line or word of text on different layers help you maintain more control over the final look of the project through individual word size changes, position etc.

Step Three | Select all three layers using the move tool and adjust the size by selecting a corner square of the transform controls (the box that shows up around the words) and while holding the shift key - make the box smaller or larger. At this time I also center the words together.

Step Four | Ta-Da! It’s done! It’s that easy.
If you want to sell the print be sure to save it at a high quality size, I even keep photoshop file copies in case another size is requested so I can easily adjust the sizing without sacrificing the quality of the print.

apple pages Instructions:
If you don’t have access to photoshop or don’t want to pay for the subscription through Adobe, you can easily use Apple Pages or Microsoft Word to create your prints for personal use.
Step One | Open a new document - it’s convenient that apple pages defaults to a regular printer paper sized document, you can easily cut the paper to fit your frame or adjust the print sizes in the program.

Step Two | Type out the phrase you’d like to print.

Step Three | Change the font to the one you downloaded and the size.

Step Four | To make your design look more professional, make adjustments to the line height which will bring the words closer together or further apart.

Step Five | Center your text and add spacing above and below it as needed. (You can also just make it all in a text box and move with your curser)
Step Six | It’s done! Print and put in an 8x10 frame, enjoy!

I hope you enjoyed this tutorial! Let me know if you have any questions.

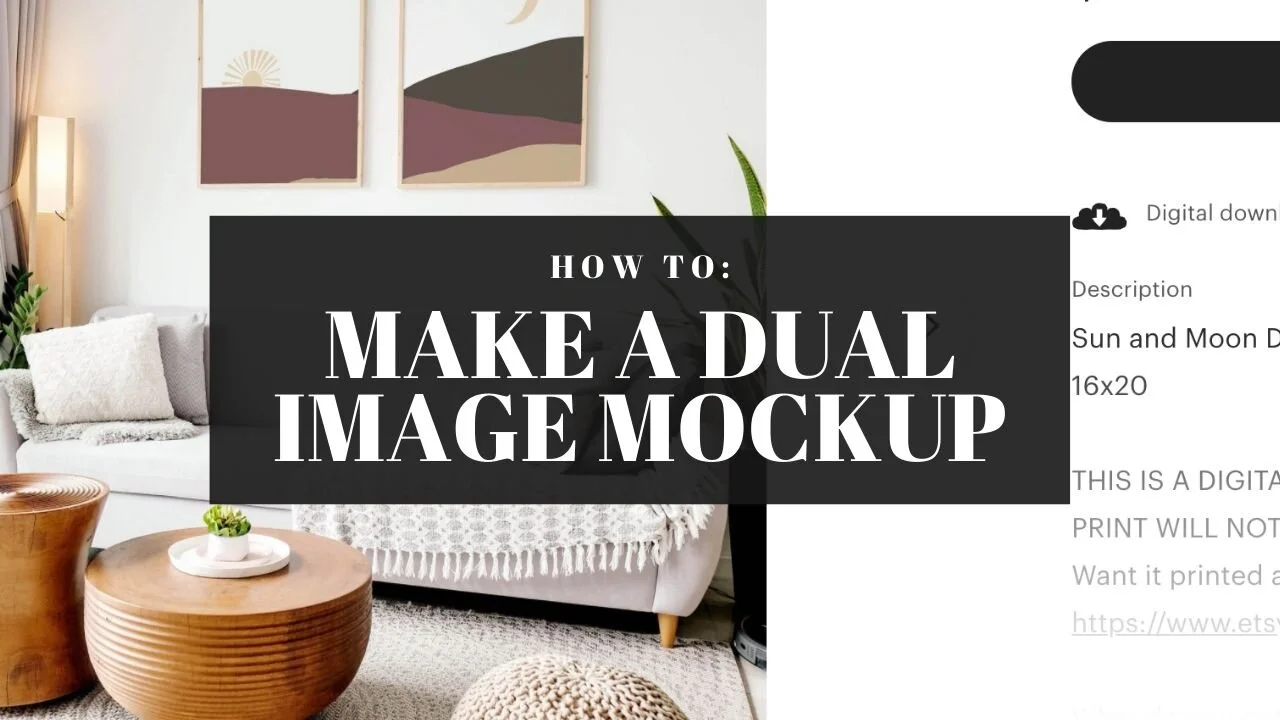
How to Make a Dual Image Mockup | Etsy Help
How to create a two frame mockup for your Etsy artwork | Molly Margaret Photography Education
As you may have seen, I regularly post my Etsy artwork and to share it I use what are called Mockups - you can purchase these but they’re also fairly easy to make on your own. Here is a tutorial video and some written instruction on how to make a two frame dual image mockup for your Etsy shop. Let me know if you have any questions in the comments!
The video tutorial:
The written steps:

Step One: Prepare the Image.
Edit out any distractions, set a background to the picture frames.

Step Two: Select the areas for art to sit in the frame using the Marquee Tool.
Select a rectangle or square within the existing frames, as close to the actual frame interior as possible but it does not need to be perfect.


Step Three: Right click to create a new layer via copy

Step Four: Right click the new layer and convert it to a Smart Object.

Step Five: Repeat for the other frame, the final of the two new layers correctly converted will look like this -

Step Six: Select the smart object thumbnail to open the smart object.
You’ll see whatever was copied when the new layer was created with the marquee tool, go ahead and create a new layer then delete that layer with the copied content.


Your updated smart object should look like this -

Step Seven: To place in your artwork go to File > Place Embedded > Select the file you’d like to place + Press Enter once it’s placed.

Here’s what it looks like with the design in place, press control S to save the smart object (or File > Save)

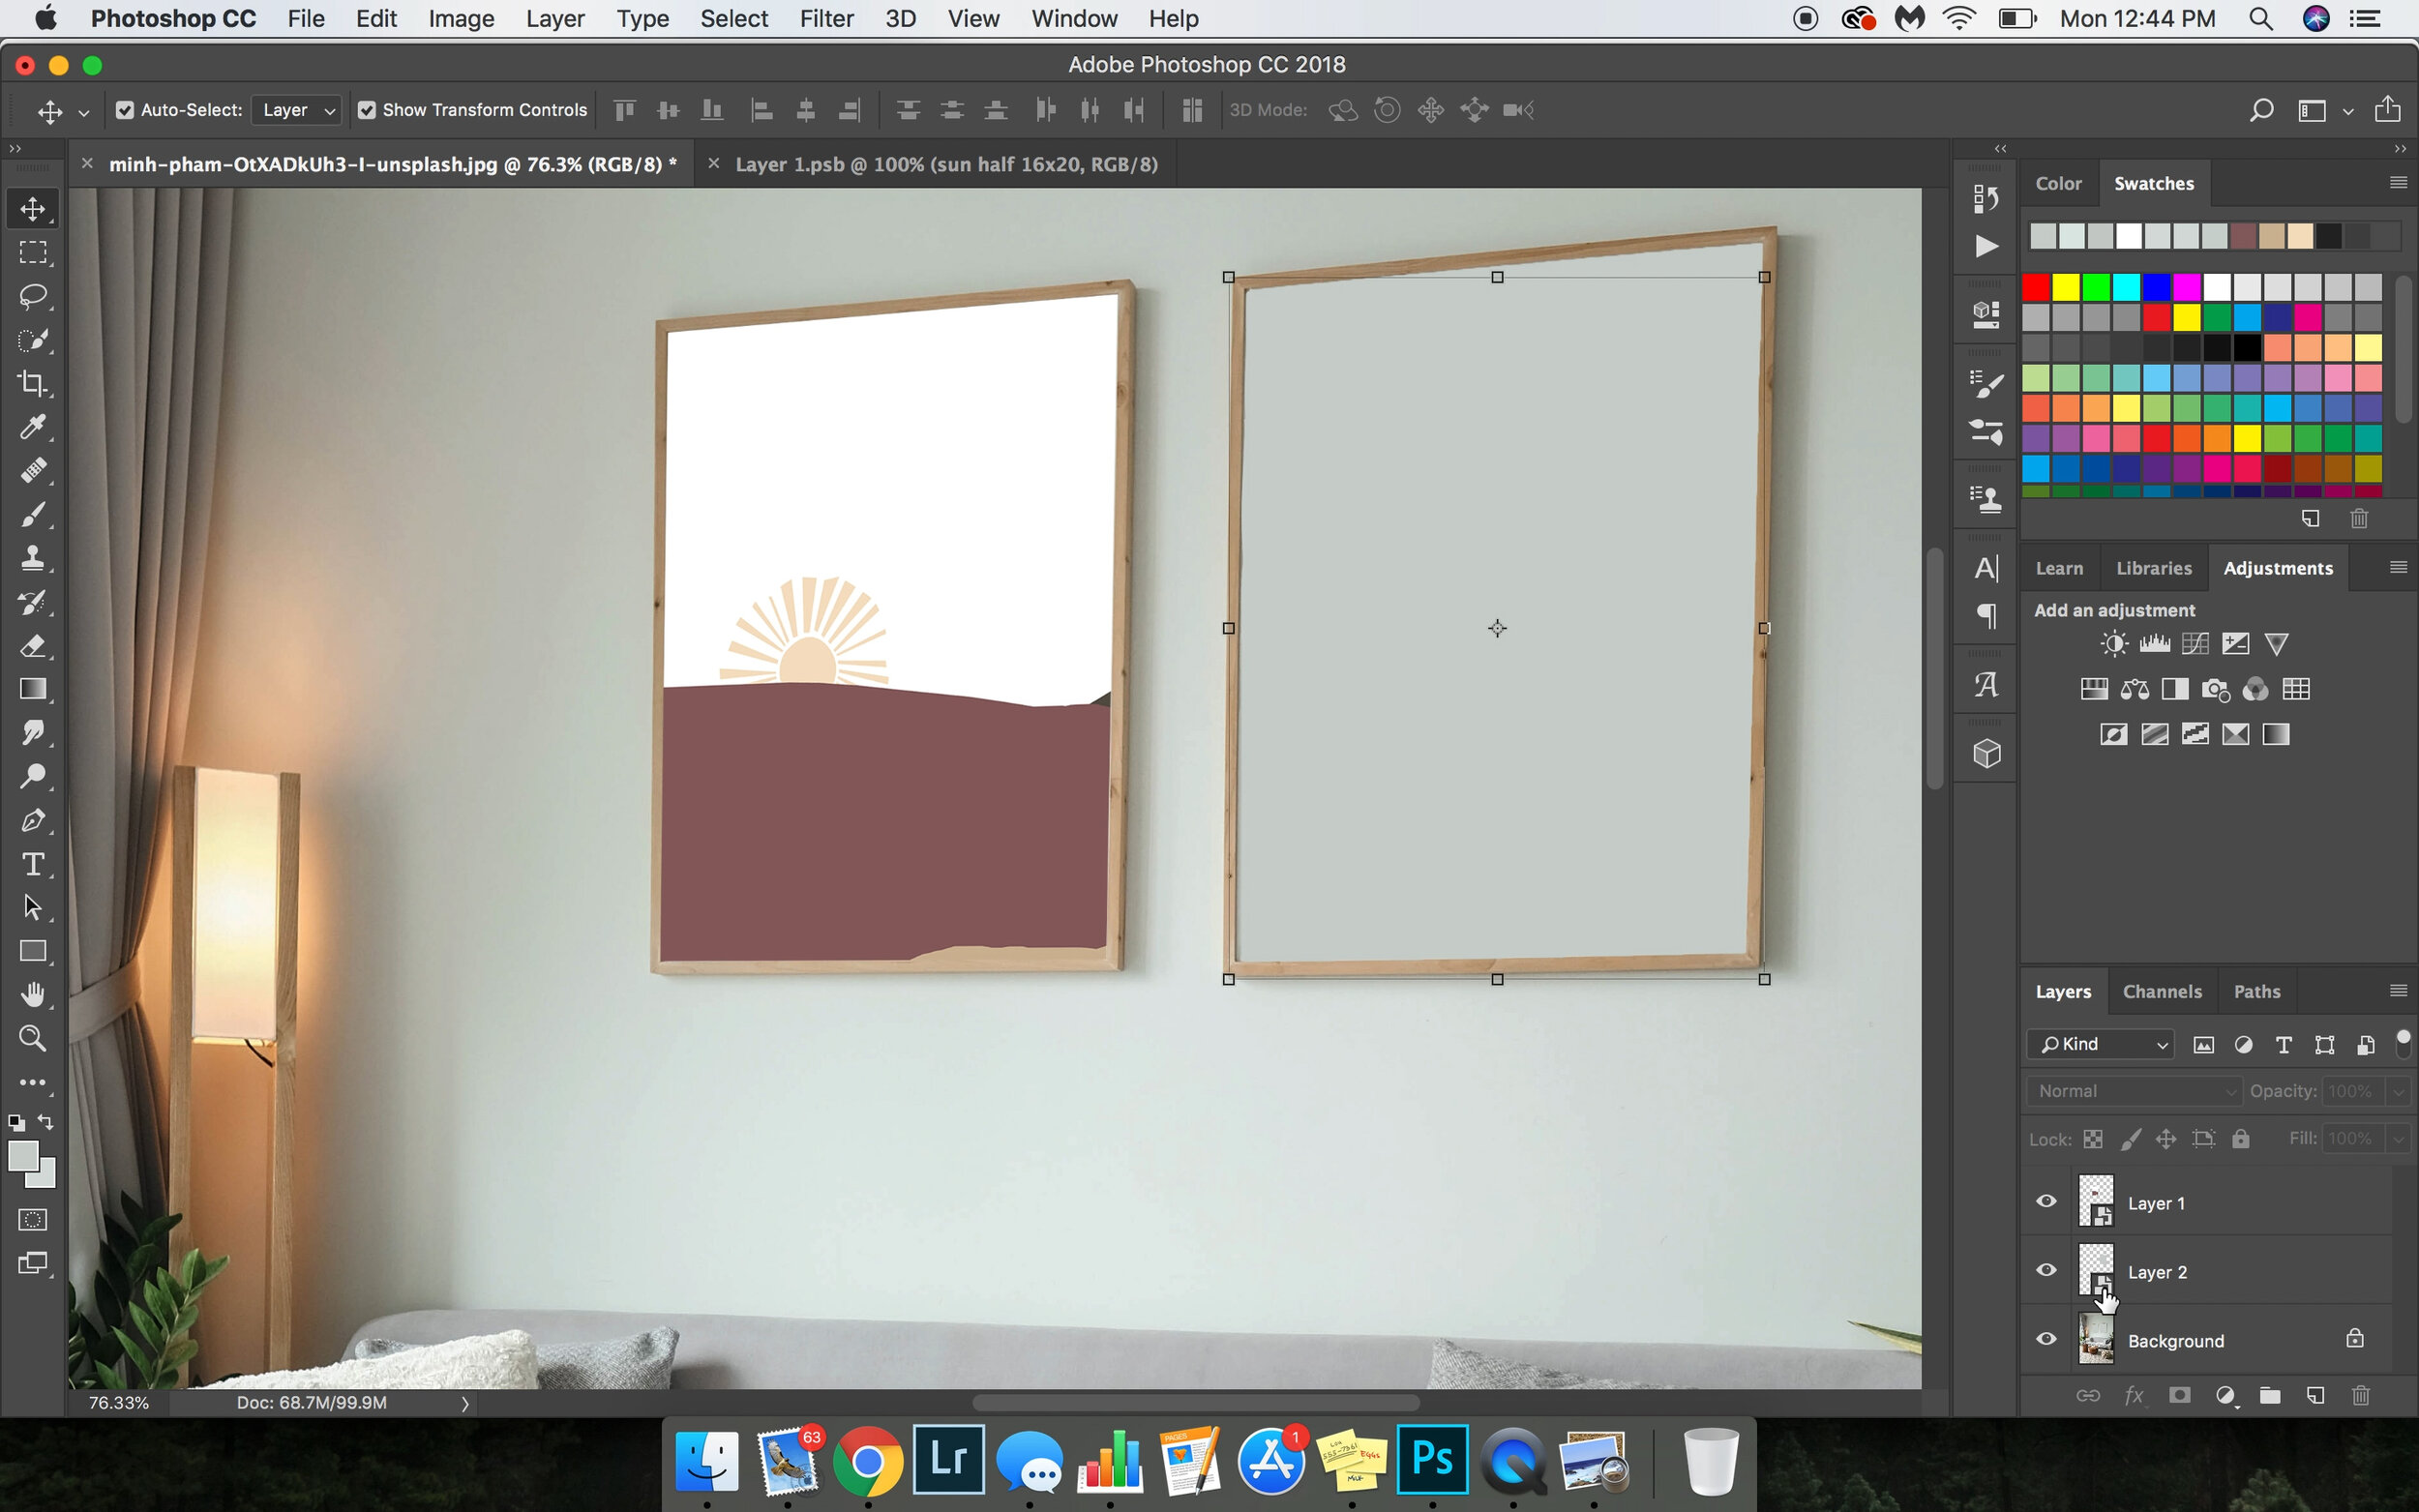
Step Eight: Confirm the smart object has pulled over the piece of art/design and that Transform Controls are ON.(Show Transform Controls in the upper left on the top control panel)

Step Nine: Adjust the file to fit into the frame Edit > Transform > Distort then drag the corner of the art to be flush with the frame. Press enter when it fits to your liking.


Step Ten: Repeat for the second image.


Step Eleven: Change the Mode of the layers to Multiply or Darken (sometimes Darken or Multiply will make parts of the design disappear so check which one works best for your artwork).

Step Twelve: Done! Save as a JPG for your Etsy listing and as a PSD file to keep the smart layers and use again for other projects.

Hope this all helps! Comment if you have questions! Thanks :-)